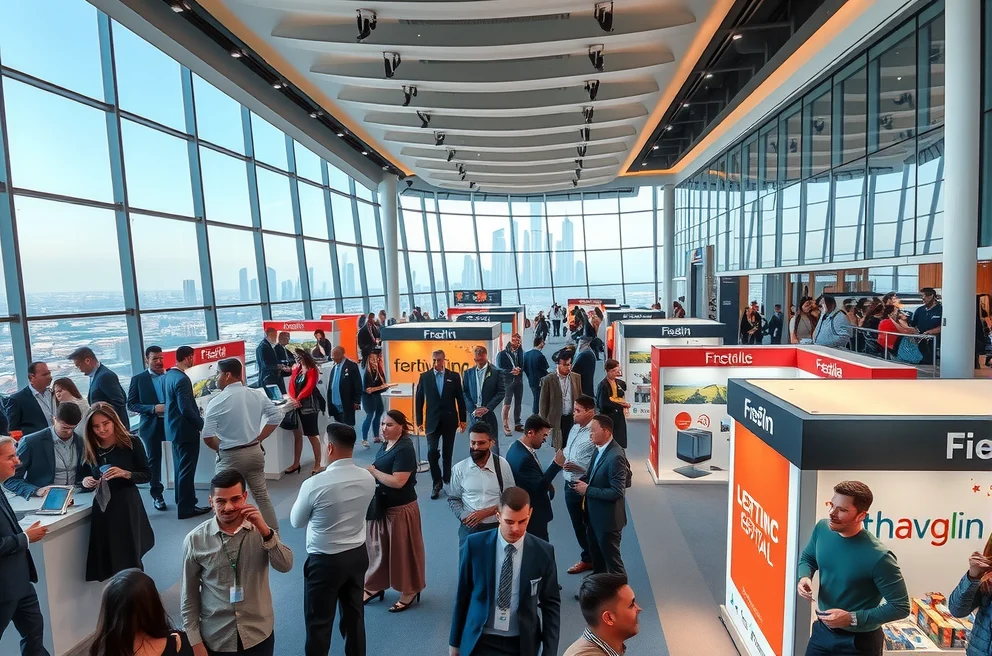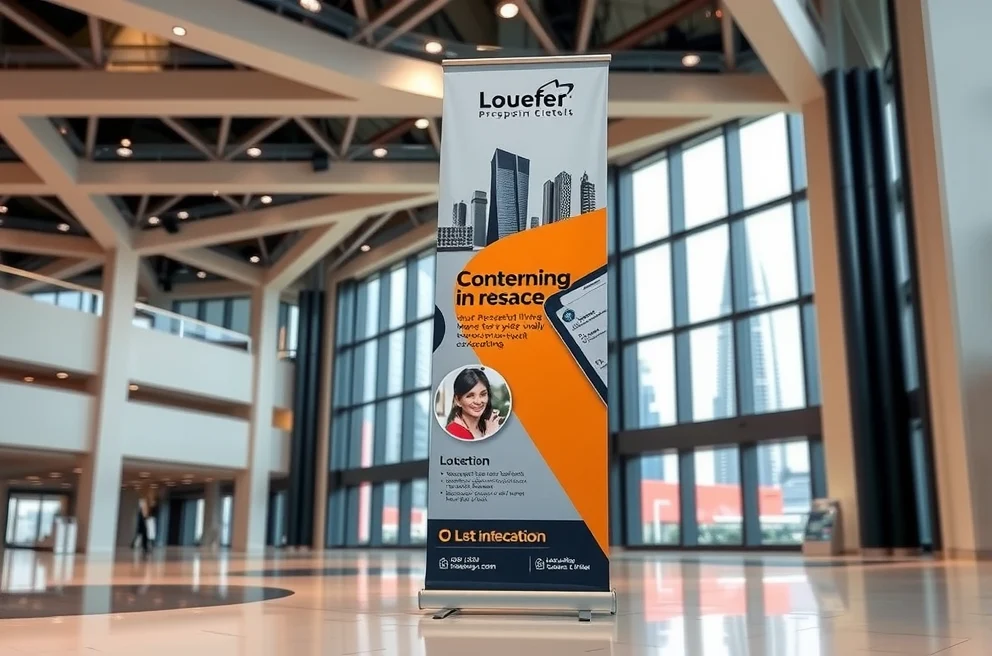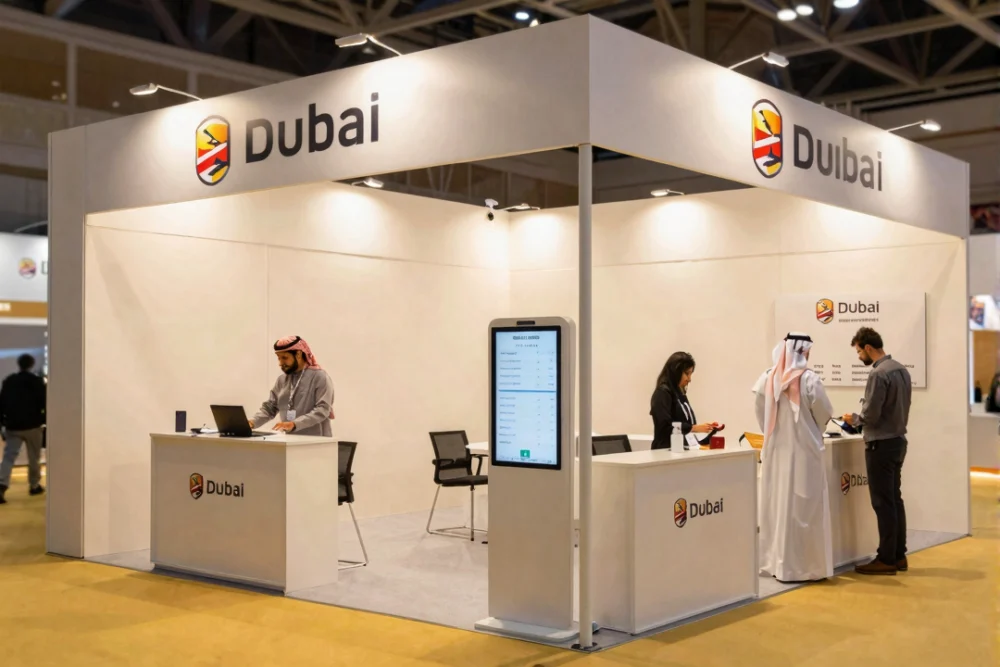

A booth interior with every print element mapped out from entrance to counter to keep messaging unified
Define the print scope for your Dubai exhibition
Event graphic printing dubai teams rely on starts with a tight scope that links business goals to every printed item on the stand. You want a checklist that captures what must be printed, where it will be seen, and what action you want visitors to take. This keeps the booth consistent and prevents waste.
Start by setting hard outcomes, not vague goals. A strong plan uses specific targets like 100 qualified leads, 15 pre-booked meetings, or 50 live demos. Then decide whether the event is a discovery show or a buying show. This choice shapes how much you print and which items need premium finishes.
Next, list every visual touchpoint in order: entrance signage, stand walls, counter graphics, roll-ups, product sheets, badges, and takeaways. Keep your main message simple and visible. Your logo and value proposition should stay readable from at least 10 meters. You have only a few seconds to catch attention, so limit text and focus on one clear promise per panel.
Use this section to define the event graphic printing checklist you will use throughout the project. Avoid the mistake of ordering pieces without a shared message; it creates mixed visuals and weak recall.
- Set numeric targets before you choose print items.
- Decide if the event is for discovery or buying.
- Map every graphic to a single action and message.
- Keep primary messaging readable from 10 meters.
Key Takeaways
- Use one master checklist that ties every print item to a clear goal.
- Confirm approvals and venue rules before final print sign-off.
- Lock print-ready specs early to avoid reprints and delays.
- Compare vendors with a single brief and clear acceptance criteria.
- Design each graphic to drive a next step, not just awareness.
Confirm compliance before you print
Compliance sets the rules for what you can print, where you can display it, and how you must prepare it. It matters because missing approvals can delay delivery or force changes during build-up. Under Dubai Decree 6 of 2020, physical advertisements like catalogs and leaflets require prior consent. Permits can be issued in less than 10 days, and non-compliance can trigger fines, removal of ads, or business closure for up to 6 months.
Venue rules add another layer. Some Dubai exhibitions require fire-resistant materials, and electrical fittings must meet venue standards. If you plan suspended items or banners, you often need approval for rigging and stand plans. In some venues, the maximum topside height for a banner or suspended item is 8m. Always confirm these limits with the venue before you finalize sizes and hardware.
Bilingual signage also affects compliance and reach. For global shows in the UAE, use English and Arabic on key signage to show cultural respect and broaden visibility. Avoid the mistake of assuming a global design template will pass local checks; confirm compliance before you print or ship.
- Apply for physical ad consent under Dubai Decree 6 of 2020 before final print approval.
- Confirm fire-resistant material rules and keep certificates available.
- Confirm banner rigging approvals and venue height limits.
- Use English and Arabic on primary signage.
Build a production timeline that survives real-world changes
Timeline discipline protects your event print turnaround UAE plans from last-minute stress. It matters because proofing, finishing, and delivery cannot compress without trade-offs. Work backward from the event date and set clear milestones for final artwork, proof approval, production, and delivery. Many catalog print jobs run on a 24 to 48 hour turnaround after order confirmation, but only when files are correct and finishes are simple.
Use a buffer that matches the complexity of your order. A realistic cushion is 2 to 3 days for quick printing and last-minute changes. For large or custom jobs, allow at least 5 to 7 working days. This protects you from delayed approvals, finishing changes, and delivery constraints. Avoid the mistake of planning production as a single step; break it into proofing, production, finishing, and delivery.
Align delivery with booth build and staff readiness. If delivery arrives early without storage, or late without setup time, you lose impact. For a deeper planning model, use the print collateral timeline as a reference.
- Set proof approval deadlines before production begins.
- Add a 2 to 3 day buffer for last-minute changes.
- Allow 5 to 7 working days for complex or large orders.
- Match delivery windows to build and staffing schedules.
Choose materials and formats that fit the venue
Material choice defines durability, visibility, and cost. It matters because the wrong material can sag, glare, or degrade, and it can also cause reprints. Start with the environment. Vinyl is affordable, flexible, and weather-resistant for outdoor signs and banners. Fabric offers a premium look for indoor booths and pop-ups, and it is light and easy to transport. Mesh works well when wind permeability matters, and rigid substrates like PVC or ACP suit long-term outdoor signage.
Now match material to format. Roll-up banners work well for reception points and booth edges. Vinyl banners cover large walls and can handle outdoor conditions. Mesh banners resist wind for outdoor fences. If you need a premium indoor look, canvas delivers a textured finish. Avoid the mistake of choosing a material for style alone; choose for function first, then style.
Use standard sizes to reduce cost and delays. A common roll-up size is 85 x 200 cm, while larger displays can reach 150 x 200 cm. Keep readability in mind. Your main headline should stay bold and legible across aisle distances. For a deeper look at format options, see large format printing works for events and this roll-up banner printing guide.
- Use vinyl for outdoor signage and banners.
- Use fabric for indoor displays and portable backdrops.
- Use mesh for windy outdoor locations.
- Use rigid substrates for long-term outdoor signage.
Use sustainability choices that also protect quality
Sustainable choices matter because they reduce waste and can improve brand perception. Use print-on-demand to avoid overproduction. Choose saddle-stitch binding for easier recycling when appropriate. Ask vendors for FSC or SFI certification documents, and request recycled content where print quality stays high. Choose inks that reduce VOC emissions when available.
Keep sustainability tied to function. Avoid single-use pieces that add cost without value. Use durable finishes only where they improve the visitor experience. If you want examples, review eco-friendly printing choices and apply the same principles to your event graphics.
- Use print-on-demand to reduce waste.
- Request FSC or SFI certification when relevant.
- Choose recycled content if quality stays high.
- Use low-VOC inks when available.
Lock print-ready files to prevent reprints
Print-ready files decide whether your output looks sharp or fails at production. It matters because minor errors can trigger reprints, which waste time and budget. Use 300 dpi artwork, convert files to CMYK, and follow the correct bleed and safe zone requirements. A standard bleed is 3mm, and a safe zone is 5mm from the edge. For banners, leave a 1 to 2 cm safe margin for bleed or eyelets.
Use vector files for logos whenever possible to maintain crisp edges at large sizes. Confirm accepted file formats and file size limits before you submit. Common formats include PDF, JPG, JPEG, PNG, AI, PSD, TIF, TIFF, and ZIP. The maximum file size commonly accepted is 1,000 MB. Avoid the mistake of sending RGB files or low-resolution images; it can cause color shifts and blurred output.
Use a preflight checklist before submission. Confirm resolution, color mode, bleed, safe zones, and correct file format. If the job is high-stakes, request a proof and review it carefully before full production.
- Use 300 dpi files and convert to CMYK.
- Apply a 3mm bleed and keep critical content 5mm inside the safe zone.
- Leave 1 to 2 cm margins on banners for bleed or eyelets.
- Confirm file formats and the 1,000 MB limit.
Use a vendor brief to compare quotes fairly
A vendor brief gives you a consistent way to compare suppliers and control scope. It matters because a missing detail can change cost, timing, or quality. Use one brief that lists materials, sizes, quantities, finishes, file specs, proofing, delivery, and compliance status. Ask vendors to confirm acceptance criteria and the proofing process so you compare like for like.
Include logistics and compliance fields. If you ship equipment internationally, account for temporary import rules and ensure you have ATA Carnets where required. Note rigging approvals and fire-resistant material certificates if applicable. Avoid the mistake of asking for a quote without a defined scope; it increases change orders later.
Providers like Media Print UAE can help clarify specs, but you still need a single brief to avoid inconsistent quotes. If you are finding suppliers near me in Dubai, use this brief to keep comparisons fair.
| Brief Field | What to Provide |
|---|---|
| Objective and KPIs | Targets like qualified leads, meetings, or demos |
| Event and Venue | Event name, venue, and build schedule |
| Graphic List | Every item, size, quantity, and placement |
| Materials and Finishes | Material type and finish per item |
| Artwork Specs | 300 dpi, CMYK, bleed and safe zones, accepted formats |
| Proofing | Proof type and acceptance criteria |
| Compliance | Approvals status and required certificates |
| Shipping | Local delivery or temporary import requirements |
| Installation | Rigging, mounting, or setup needs |
Compare cost and turnaround trade-offs without surprises
Cost and speed trade-offs are the heart of decision-making. This is where large format printing cost Dubai questions usually show up. Cost drivers include paper weight, coatings, specialty finishes, personalization, and distribution method. Premium finishes like soft-touch coatings, foil stamping, and embossing elevate the feel but add time and cost.
Turnaround choices also affect quality. Fast production can limit finishing options or proofing steps. If you need speed, prioritize core visuals and keep finishes simple. If you need premium finishes, allow extra time and confirm the production schedule in writing. Avoid the mistake of choosing the lowest quote without checking whether the supplier included the same finishes, proofing steps, and delivery terms.
Use acceptance criteria to protect results. Define what good looks like in proofs, color accuracy, and finishing. Confirm how changes will affect timing and cost before you approve production.
- Compare quotes based on identical materials and finishes.
- Confirm proofing steps and acceptance criteria before production.
- Confirm delivery, installation, and packaging terms.
- Lock decisions early to protect the schedule.
Align graphics with lead capture and post-event action
Graphics should do more than look good; they must move visitors toward a clear next step. This matters because booth traffic without capture creates weak ROI. Use QR codes, scan-to-download systems, and digital lead capture tools that integrate with your CRM. Place QR codes where visitors stop, not just where they pass.
Use interactive elements only when they support your message. LED screens can tell a story quickly, and touchscreens can help visitors browse products without crowding staff. Avoid the mistake of filling your booth with tech that has no purpose; every display should answer a visitor question or invite a specific action.
Staffing connects graphics to action. Use a mix of greeters, techs, and closers. Train each team member on a 30-second pitch and a clear lead qualification process. Begin follow-ups within 48 hours and complete outreach within a week to keep momentum. Avoid fishbowl business card collections; use digital capture instead.
To strengthen leave-behinds, review the catalogue printing partner guide and align catalog messaging with booth graphics.
- Use QR codes and scan-to-download to reduce print volume.
- Use a digital lead capture app that links to your CRM.
- Train staff on roles and a 30-second pitch.
- Start follow-up within 48 hours and finish within a week.
Prevent the most common pre-event printing failures
Most failures come from rushed approvals, unclear specs, and late ordering. It matters because reprints cost time and can delay your stand opening. Protect your event graphics production Dubai workflow by using a preflight checklist, a vendor brief, and a realistic timeline.
Common failure points include low-resolution artwork, missing bleed, incorrect color mode, and mismatched materials. Another risk is mixed messaging across print assets, which reduces recognition and pickup rates. Avoid these by standardizing specs and aligning all assets to a single message hierarchy.
Use a final checkpoint before production: confirm resolution, bleed, CMYK, file format, and delivery date. Confirm that all approvals and certificates are in place for venue compliance. Avoid the mistake of waiting for “final” designs during the build window; lock print-ready files earlier.
- Confirm 300 dpi, CMYK, bleed, and safe zones before upload.
- Match all assets to one message and visual system.
- Confirm approvals and certificates before production.
- Lock delivery timing with the venue build schedule.
References
- Exhibitor Checklist for First-Time Participants at Global Trade Shows ? Exhibition Stand & Event Management Company ? 2026-02-28 ? Exhibitor Checklist for First-Time Participants at Global Trade Shows
- Gulfood Dubai Participation Rules & Regulations : Guide for Exhibitors ? Fotoboxx Exhibitions ? 2025-12-16 ? Gulfood Dubai Participation Rules & Regulations : Guide for Exhibitors
- Catalogue Printing Dubai: Smart Checklist for Exhibitions ? Media Print UAE ? 2026-03-09 ? Catalogue Printing Dubai: Smart Checklist for Exhibitions
- Top Mistakes to Avoid When Ordering Prints Online in Dubai ? Proprint ? 2025-04-25 ? Top Mistakes to Avoid When Ordering Prints Online in Dubai
- Right Large Format Printing Material to maximize Your Impact. ? Adstands Advertising ? 2024-07-03 ? Right Large Format Printing Material to maximize Your Impact.
- Quick Printing for Events in Dubai – Fast & Reliable Event Materials ? veesham ? 2025-08-23 ? Quick Printing for Events in Dubai – Fast & Reliable Event Materials
- Event Banner Printing in Dubai – Best for Exhibitions & Promotions ? veesham ? 2025-08-16 ? Event Banner Printing in Dubai – Best for Exhibitions & Promotions
- Exhibitors Guide: Rules & Regulations | VisionPlus EXPO, Dubai 2026 ? ? 2024-06-22 ? Exhibitors Guide: Rules & Regulations | VisionPlus EXPO, Dubai 2026

A planning desk with proof sheets, color guides, and timeline notes keeping compliance and deadlines aligned
Frequently Asked Questions
Do I need a permit to distribute printed ads at Dubai exhibitions?
Yes, if you plan to distribute physical advertisements such as catalogs or leaflets. Dubai Decree 6 of 2020 requires prior consent for physical ads, with permits issued in less than 10 days by the relevant authority. Non-compliance can lead to fines, removal of ads, or business closure for up to 6 months.
What file specs do printers in Dubai expect for event graphics?
Most printers expect print-ready files at 300 dpi, in CMYK color mode, with a 3mm bleed and a 5mm safe zone for critical text. Accepted formats include PDF, JPG, JPEG, PNG, AI, PSD, TIF, TIFF, and ZIP. The maximum file size cited is 1,000 MB.
What are standard roll-up banner sizes and bleed margins in Dubai exhibitions?
A common roll-up banner size is 85 x 200 cm, with larger displays available at 150 x 200 cm. For banners, leave a 1 to 2 cm safe margin for bleed or eyelets. Clear, bold messaging improves readability from a distance and supports exhibition banner printing requirements.
How long is event print turnaround UAE teams should plan for?
Turnaround depends on the item and finish. Catalog printing can run 24 to 48 hours after order confirmation, while quick event materials often take 1 to 3 days. It is wise to keep a 2 to 3 day cushion for changes, and allow 5 to 7 working days for large or custom jobs.
Do Dubai exhibitions require English and Arabic signage?
For global shows in the UAE, using both English and Arabic on key signage is recommended to show cultural respect and broaden reach. This supports clearer Dubai exhibition signage printing and improves accessibility for mixed audiences. Not specified in the research for every venue, so confirm requirements with your organizer.