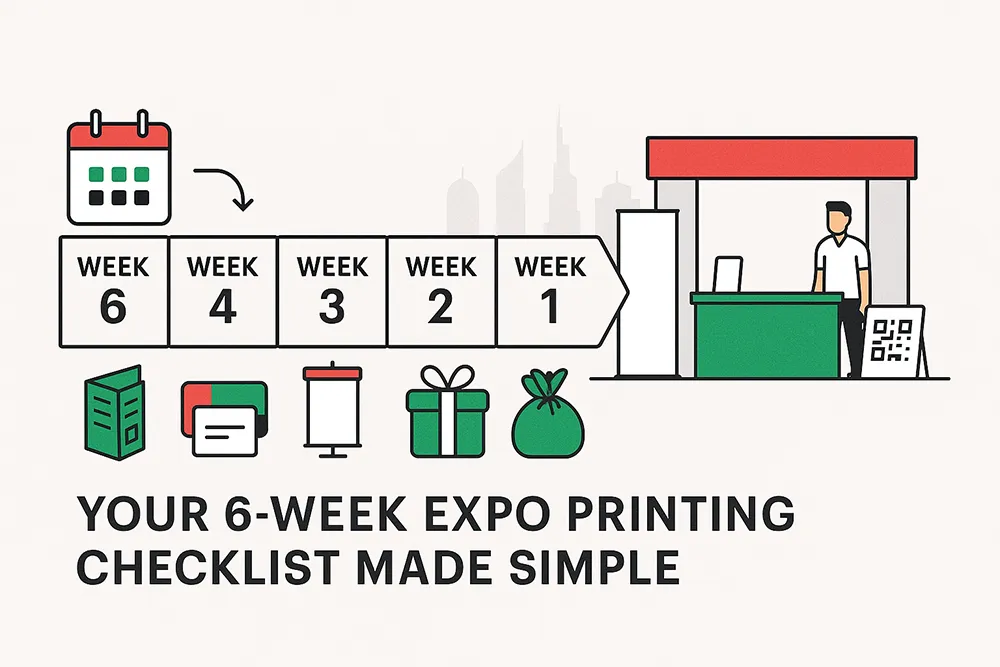
Preparing for an expo can feel overwhelming. With dozens of items to print and limited time, even one missed deadline can disrupt your entire booth presentation. This 6-week event printing schedule UAE guide breaks down everything—business cards, brochures, banners, gifts, and QR flyers—so you’re ready, confident, and visible on show day.
Let’s simplify your expo journey with a practical countdown that keeps your collateral on track and your brand shining.
Week 6: Set Your Goals & Select a Print Partner
The foundation of every successful expo starts six weeks out—by setting clear goals and identifying exactly what you need. Your goals will drive every decision, from design style to how much material to print.
Define Your Objectives
Begin by asking:
-
Do you want to generate leads by collecting visitor contact details?
-
Are you launching a new product and aiming to educate attendees?
-
Is your goal to build brand awareness in a competitive sector?
Each of these objectives will influence the type and amount of collateral you’ll need. For example, lead generation might call for more QR flyers and digital forms, while brand awareness might need bold banners and quality giveaways.
List Your Essential Print Items
By this point, create a checklist of all materials to produce:
-
Business Cards: Simple but powerful networking tools.
-
Banners and Booth Signage: For instant visibility even from afar.
-
Company Brochures: Offer a comprehensive view of your services.
-
Promotional Gifts: Branded items like mugs, notebooks, or eco-bags that boost recall.
-
QR Code Flyers: Drive traffic to landing pages, product demos, or online stores.
Choose the Right Print Partner
Your printing partner can make or break your timeline. Look for a UAE-based company with:
-
Proven expo experience
-
Fast turnaround and high-quality output
-
Local knowledge of event requirements in Dubai, Sharjah, Abu Dhabi, etc.
Media Print UAE, for example, is known for delivering tight-schedule jobs with precision and offers options like eco-friendly paper, Arabic-English bilingual prints, and booth kits designed for transport.

Start with clear goals and a print plan
Week 5: Design All Collateral
With your strategy clear, it’s time to translate your ideas into visual materials that reflect your brand. Week 5 is all about creative development, and getting your artwork finalized for each item.
Business Cards
Keep it functional yet memorable:
-
Name, title, email, phone number
-
QR code linking to your website, WhatsApp, or LinkedIn
-
A catchy tagline or visual hook to aid memory
Example: A circular card with embossed gold text helped one Dubai firm increase recall by 42%.
Brochures & Flyers
Tell your story in seconds:
-
Use bullet points, icons, and infographics
-
Highlight USPs clearly (i.e., 24/7 service, 10+ years of experience, etc.)
-
Use paper finishes like matte or glossy based on your brand tone
Banners & Booth Signage
These grab attention before you even say a word.
-
Use large fonts (at least 80 pt) for headings
-
Keep text minimal: “Free Demos,” “Meet Our Experts,” etc.
-
Include branding on all four sides for visibility from every angle
Promotional Gifts
Functional items offer the highest return on recall.
-
USB drives, water bottles, tote bags, or power banks are the most retained
-
According to PPAI (2024), 83% of consumers remember the brand on a gift they kept
-
Opt for items that are lightweight and useful
QR Flyers
Combine print with digital seamlessly:
-
Link to lead forms, landing pages, or product demos
-
Use shortened URLs and test all QR codes on different devices
-
Add a line like “Scan for a Free Gift” to boost engagement
Week 4: Proofing and Approval
Now that your designs are ready, don’t hit “print” just yet. This week is all about eliminating errors that could cost you money, reputation, or both.
Common Mistakes to Catch
-
Wrong phone numbers or URLs
-
Misspelled names or product titles
-
Low-resolution images (must be 300 dpi for print)
-
Inconsistent logo placement or color shades
-
QR codes that don’t scan or lead to broken links
Take time to inspect every detail. Enlist multiple team members or even hire a proofreader.
Test Prints Matter
-
Ask your print provider to do a physical proof for larger or premium items
-
Check fold lines, cuts, colors, and layout in real size
-
Look at your prints under different lighting—expo halls can have tricky spotlights
Get Approvals Early
Avoid chasing your manager two days before production starts. Schedule review sessions and get written approvals from all stakeholders now.

Always proof your designs before printing
Week 3: Place Orders and Begin Production
With approved designs in hand, it’s time to send them off for production.
What to Do This Week
-
Submit all files in the format your printer requires (usually PDF with crop marks).
-
Confirm delivery timeline—materials should arrive by Week 1, no later.
-
Ask about express print options for emergencies—but use only as backup.
-
Request samples for high-value or complex items (like die-cut gifts or stitched booklets).
Organize Your Print Orders
Create a print order tracking sheet with:
-
Name of item
-
Quantity
-
Size & material (e.g., 300 gsm gloss, A5, fold type)
-
Expected delivery date
-
Assigned team member
This sheet will become essential for tracking items as they arrive and during booth setup.
Week 2: Check Inventory and Plan Logistics
This week is all about control and confirmation. By now, printed materials should start arriving. Before they stack up in corners or go missing, implement a strict inventory and logistics system.
Inspect Every Shipment
-
Unbox each delivery the moment it arrives.
-
Count all items: brochures, banners, business cards, flyers, giveaways.
-
Cross-reference with your print tracker or order sheet from Week 3.
Even a small shortage can become a crisis on event day. Better to detect issues now than at the venue.
Organize by Function
Separate and sort materials into practical categories:
-
Items for booth display (e.g., banners, brochures, QR flyers)
-
Materials for staff (e.g., business cards, reference guides)
-
Giveaways and swag (pens, USBs, mugs, etc.)
Label these groups clearly. Use stickers or colored tags for quick identification.
Label for Easy Transit
Each box should include:
-
Booth number
-
Event name and date
-
Company contact name and phone
-
Contents list (on a visible side of the box)
This ensures smooth delivery and retrieval—especially in large venues like Dubai World Trade Centre or ADNEC in Abu Dhabi.

Organize and label every print item in advance
Set Your Shipping Plan
Decide if materials are:
-
Going directly to the expo hall
-
Being shipped to your hotel or office, then hand-carried
-
Split into multiple locations
Confirm delivery dates, and check cut-off dates for receiving freight from the event organizer.
Week 1: Final Prep and Team Training
Now you’re just days away from the show. This week is all about rehearsal and readiness.
Team Briefing
Bring your team together for a quick but detailed session. Cover:
-
Booth layout and collateral usage
-
Key talking points and messaging
-
Who handles what (gifts, brochure restocking, lead collection)
Distribute a one-page expo guide with booth number, emergency contacts, and daily schedules.
Mock Setup
Recreate your booth at your office or warehouse.
-
Use actual banners and tables
-
Test placement of QR flyers and brochures
-
Adjust based on spacing and height visibility
This reveals layout flaws and helps avoid setup delays on Day 1.
Test All Tech
-
Open all QR links—make sure they load fast
-
Sync iPads or tablets with form apps
-
Charge and label all power banks and devices
Assemble an Expo Kit
Every booth team should carry a small emergency bag with:
-
Duct tape and double-sided tape
-
Business card holders
-
Extension cords and power strips
-
Scissors, markers, and velcro strips
Expo Day: Execution Excellence
Your print collateral now becomes the face of your brand. Set it up thoughtfully and keep it organized.
Set Up Strategically
-
Place banners at eye level, visible from walkways
-
Display business cards and flyers in high-traffic zones
-
Keep your best brochures or promo gifts within easy reach—not locked away

A well-prepped booth attracts more attendees
Manage the Booth Flow
Assign one person to:
-
Refill brochures as they deplete
-
Monitor gift stock
-
Greet attendees while others engage in longer chats
This keeps your booth vibrant and responsive.
Observe Competitors
Collect other companies’ flyers and brochures. Study their print quality, messaging, and layout—valuable insights for future events.
Post-Expo: Debrief and Collateral Audit
The show may be over, but your print collateral still has value. Before everyone returns to daily routines, review and learn.
Evaluate What’s Left
-
Collect all unused materials
-
Safely store reusable items like banners, card holders, and brochures
-
Recycle outdated or damaged prints responsibly
Review Engagement
Ask your team:
-
Which printed materials were most asked for?
-
What got picked up the most?
-
Did anyone mention specific flyers or gifts?
This helps refine your future print production timeline.
Log the Learnings
Schedule a 15-minute wrap-up meeting within two days. Note:
-
What worked
-
What didn’t
-
Print adjustments for the next expo
Print Planning = Expo Readiness
An expo can be a brand-building powerhouse—but only if you show up prepared. With this 6-week event printing schedule UAE, you’re not just printing materials—you’re crafting an experience.
When your print collateral is:
-
Well-timed,
-
Thoughtfully designed, and
-
Logistically organized,
Your booth naturally becomes a destination, not just a display.
While many brands face last-minute stress, a structured approach lets you stay calm, look sharp, and connect confidently.
If you’re looking for trusted event printing services near me, Media Print UAE brings local expertise, industry-grade quality, and turnaround speeds that match expo timelines—without pushing your budget to the edge.
Frequently Asked Questions
1. What is the ideal event printing schedule in the UAE?
A complete event printing schedule in the UAE should start at least 6 weeks before the expo. This allows enough time to plan, design, proof, print, and organize logistics for all collateral—like banners, brochures, business cards, and QR flyers—without rushing or facing last-minute issues.
2. When should I finalize brochures and banners before a trade show?
Brochures and banners should be finalized by Week 4, ideally after proofing and stakeholder approvals. This ensures timely printing and avoids any reprint costs or delivery delays, especially in peak expo seasons like October to March in the UAE.
3. Why is a print production timeline important for expo success?
A clear print production timeline helps avoid mistakes, reduces stress, and ensures your brand is presented professionally. Without it, businesses risk delays, missing materials, or costly express printing, especially during large UAE expos where demand spikes.
4. What items are essential for booth prep at UAE trade shows?
Essential print items for booth prep include:
-
Business cards
-
Product brochures
-
QR flyers
-
Booth banners
-
Branded promotional gifts
These help convey your message, engage visitors, and make your booth stand out on a crowded show floor.
5. How can QR flyers improve trade show engagement?
QR code flyers make it easy for attendees to access digital content like websites, product demos, or contact forms with one scan. This bridges print with digital marketing, improving interaction and tracking effectiveness during and after the event.
6. How do I ensure accurate delivery of my printed materials in the UAE?
Use labeled boxes with booth number, event name, and contact details. Confirm delivery dates with your printing partner. Avoid relying solely on expo venue storage due to high costs (up to AED 150/day) and possible access delays.


One Comment
Thanks for reading this article! I hope this 6-week event printing schedule helps you prepare better for your next expo in the UAE. If you have any questions or need tips for your specific event, feel free to drop a comment below. I’d love to hear your suggestions and ideas for future topics too—your insights truly help me improve and create more useful guides. Happy printing!